Email Settings
A
user with the role of Manager can configure the email settings so that
emails can be sent directly from IQSweb by selecting the menu option Administration/IQSweb
Settings and then
click the Email Settings
tab on the IQSweb Settings page. The
IQSweb email function uses the standard SMTP interface to send emails. Email
must be configured before any of the Emailing options within the application
can be used. In
most cases, you will need to get the email settings from your local IT
administrator. In
addition, firewall rules may need modified to allow email access depending
on your agency’s server configurations.
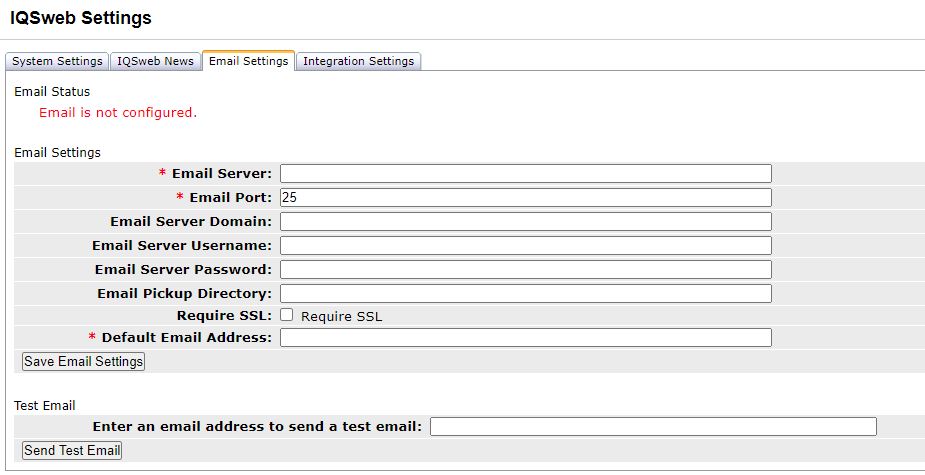
Email Status
The message displayed below the Email Status indicates
if the email setting have been successfully configured once the settings
are saved. You will
need to enter the correct settings and successfully send an email in order
to get the green success message. Contact
your agency’s IT department for help.
Steps to configure the email settings:
- Enter
the following values to configure IQSweb to use your email settings:
- Email
Server (required): enter the address for the email server used
for outgoing emails
- Email
Port (required): enter the port number that is used by your email
server (the default SMTP port is 25)
- Email
Server Username (optional): enter the username that will be used
to send emails from IQSweb
- Email
Server Password (optional): enter the password for the user account
that will be used to send emails from IQSweb. The
password is encrypted before being stored in the IQSweb database.
- Email
Pickup Directory: If your email server requires an email pickup
directory, enter the location for the directory as it is on the
server
- Require
SSL: Check this box if your email server requires SSL to send
emails
- Default
Email Address: IQS by default sends emails from the email address
specified for the user attempting to send an email. If that user’s
email address is not entered, the Default Email Address entered
here is used in its place.
- Once
you have entered all the configuration settings, click Save
Email Settings.
- Next,
enter an email address to send a test email (most likely your own
email account or an account to which you can access) and click Send Test Email.
- After
sending the email, open your email program and validate that you have
successfully received the test email for the account you entered in
the test.
- Go
back to IQSweb. At
the bottom of the email settings page, click Yes
if you successfully received the test email. Click
No if the test email
was not received.
If we were not able to
receive the test email, continue to work with your IT department to get
the correct settings entered until the test is successful.